In a previous article, I discussed using MergerFS to expand storage. However, as performance demands increased (and with too much empty space in the new HomeLab and increasingly cheap second-hand enterprise CMR disks), I decided to switch to a more mainstream RAID configuration to achieve both disaster recovery and expansion. After all, union filesystems like MergerFS are essentially similar to RAID0, making it difficult to guard against sudden failures.
At the beginning, I planned to categorize my home storage into two levels of usability: the first being high-reliability storage for critical data, and the second being less reliable storage with higher tolerance for data loss. Based on this approach, I configured my six HDDs as follows:
- High-Reliability Storage: RAIDz2, consisting of four brand new WD DC HC310 6TB SATA HDDs from JD.com, providing a total of 12TB storage capacity.
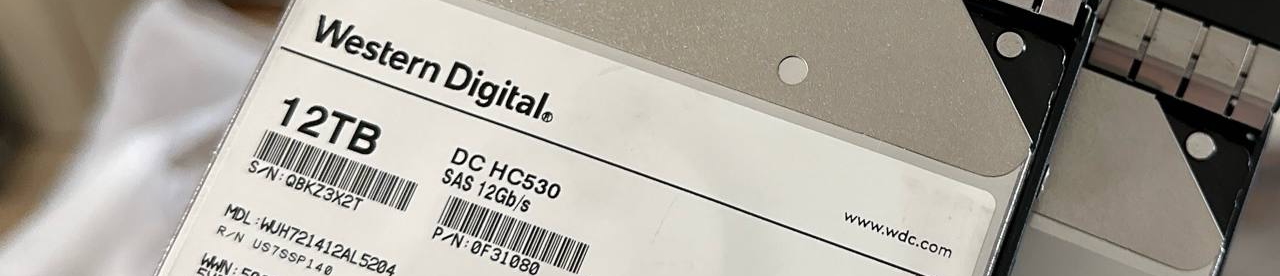
- Low-Reliability Storage: ZFS mirror, consisting of two second-hand WD DC HC530 6TB SAS HDDs from Xianyu (platform in China like e-bay), providing a total of 12TB storage capacity.
After some time, I became a PT player and started downloading more and more data. This increased my demand for low-reliability storage, leading me to purchase two more 12TB disks to expand this pool.
The entire process can actually be quite simple: take out four disks to create a new pool, and then use zfs send | zfs receive to copy the contents over. However, I didn’t have four spare disks to create a new pool, so I had to come up with some tricky workarounds. RAIDz2 requires at least four disks, with two disks storing parity and the remaining N-2 disks storing data. This mode actually allows for operation with just two disks online. Based on this idea, I used a combination of real disks and dummy files to fool the system into creating the pool. Then, by offlining the dummy files, I could get a degraded pool. The complete process was as follows:
- Create two 12TB files in /tmp using
truncate, and set up a RAIDz2 with the two new 12TB hard disks and these files. - Offline the two files in /tmp, causing the new pool to enter a degraded state but remain operational.
- Use
zfs sendto transfer the data from the old pool to the new pool. - Remove one disk from the old pool and replace one of the dummy files. Wait for the resliver to complete.
- Remove the other disk from the old pool and replace the other dummy file. Wait for the resliver to complete.
This process took approximately four days, with minimal downtime. The NAS was rebooted a few times during the disk replacements, but the overall result was excellent.
Of course, there are inherent risks. If any disk failure occurs during this process, there is a chance that all the data could be lost (and end up “in the cloud” lol).
