SmartDNS is a feature-rich local DNS server. You can check out the specific features it supports on their official website. It supports both Linux and Windows platforms.
Although RouterOS cannot directly run Linux software, starting from RouterOS 7.4beta4, MikroTik has added support for containers on certain modern architectures (arm, arm64, x86). With this mechanism, we can efficiently run some Linux applications directly on RouterOS devices, such as the SmartDNS we are going to demonstrate here.
Enable Container mode
For security reasons, RouterOS does not have container support enabled by default. We need to enable it with the following command:
|
|
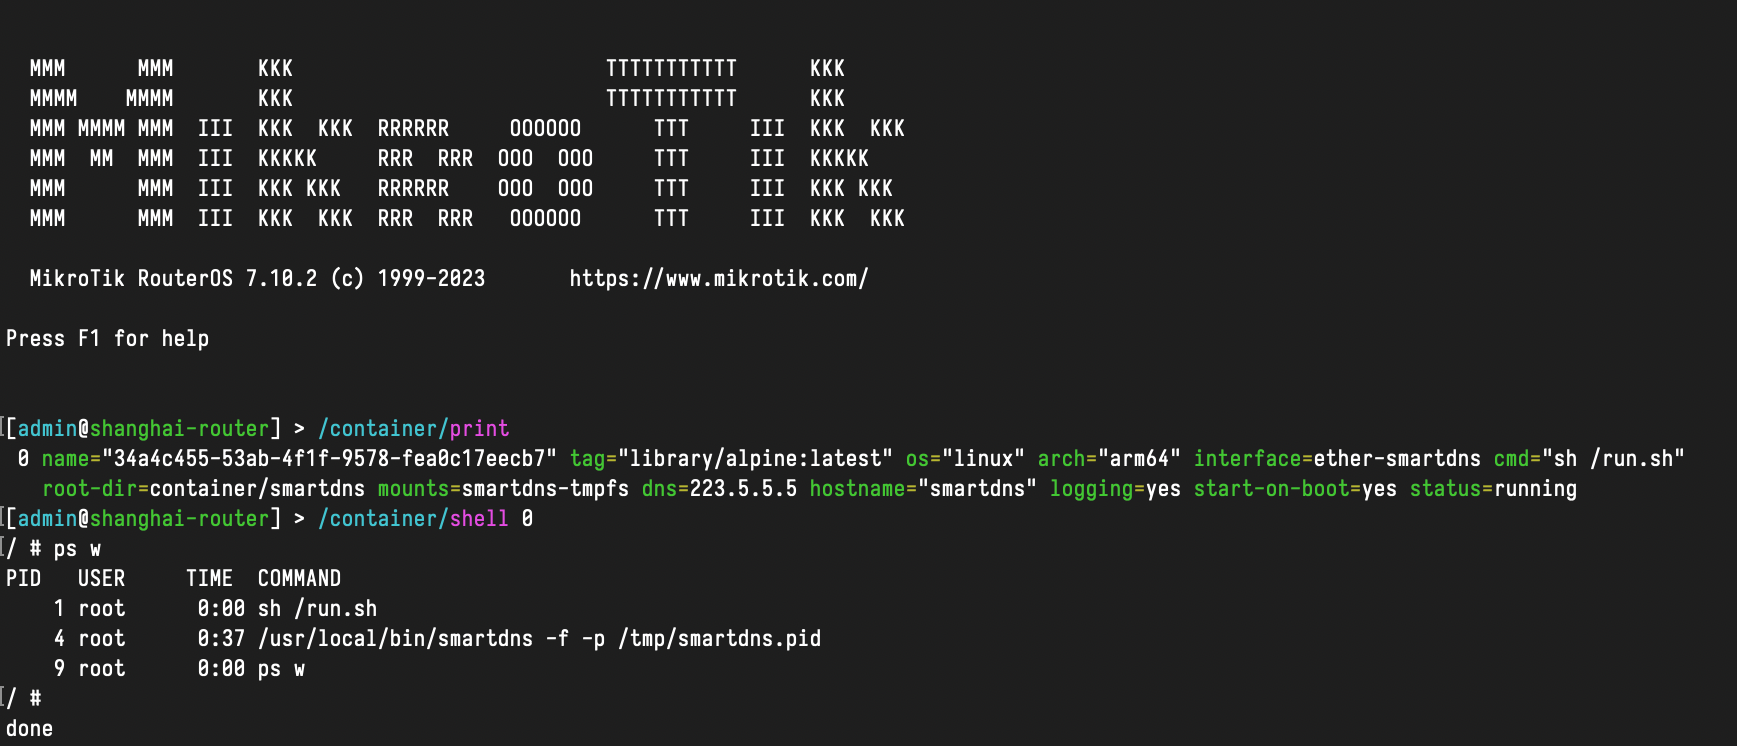
After completion, the output will remind the user to restart the device. For example, for the CCR2004, simply press the reset button on the device. For CHR, performing a cold restart will achieve the same result. After the restart is complete, you can use the command /container/print to check if container support has been enabled.
Prepare Network Interfaces
In the official RouterOS documentation, veth is used to provide network access to containers. If you have experience with Linux’s network namespace (netns), you may already be familiar with the concept of veth. If you haven’t used it before, there’s no need to worry. The Linux official manual describes it as follows:
The veth devices are virtual Ethernet devices. They can act as tunnels between network namespaces to create a bridge to a physical network device in another namespace, but can also be used as standalone network devices.
So, you can think of veth as a pair of network interfaces that are directly connected with an Ethernet cable. One end is “plugged into” your device, and the other end is “plugged into” the container or another network namespace. In essence, it creates a virtual Layer 2 point-to-point connection on your device.
RouterOS and Linux’s netns are essentially the same (given that RouterOS uses the Linux kernel). The main difference lies in the processes for creating and using them. To create a veth interface, you can use the following command:
|
|
Among these, address is the IP address of the interface in the container, and gateway is the default route for the container, which is typically the IP address of your RouterOS device.
Because I want devices in my local network to have direct access to smartdns, I simply add ether-pihole to the LAN bridge. This way, I won’t need any additional port forwarding or similar operations:
|
|
This way, our containers are in the same Layer 2 network as our local area network.
Create containers and configure services.
To avoid putting too much strain on the router’s NAND from application logs and image pulls within containers, you can create a RAM disk to store these files:
|
|
At the same time, for the convenience of making some custom adjustments to the network later on, I don’t intend to use ready-made Dockerfile from the internet to create our SmartDNS container. Instead, I will use alpine:latest as the base image and directly enter this container to download SmartDNS:
|
|
The ‘cmd’ written here is a command that can run for a long time without exiting on its own. This way, we have plenty of time to complete the container configuration. After running the create command, you can use ‘/container/print’ to observe the status. Once it’s completed, you can use ‘/container/start 0’ to start the container.
|
|
At this point, we can download and install SmartDNS just like we would in a regular Linux environment:
|
|
I won’t go into specific configuration details here. You can refer to the official documentation for that. After configuring it, you can directly start SmartDNS in the container to verify if the configuration is correct. Once everything is working fine, you can prepare to create your startup script. Since my container is directly exposed on the home LAN’s ethernet layer, I want to add an IPv6 address to the container directly. This will be distributed through SLAAC and DHCPv4 for IPv4/v6 configurations. My approach is straightforward: I’ll prepare a /start.sh file to handle the necessary configuration.
|
|
Then update the container configuration and restart the container.
|
|
Finally, you can use another device to verify the DNS service.
|
|
In summary, using similar methods, you can run almost any Linux application to expand the functionality of RouterOS, such as BIND, pi-hole or even BIRD, and more.